Skip to content

FREE UK SHIPPING

WORLDWIDE SHIPPING

Skip to product information
1 of 2

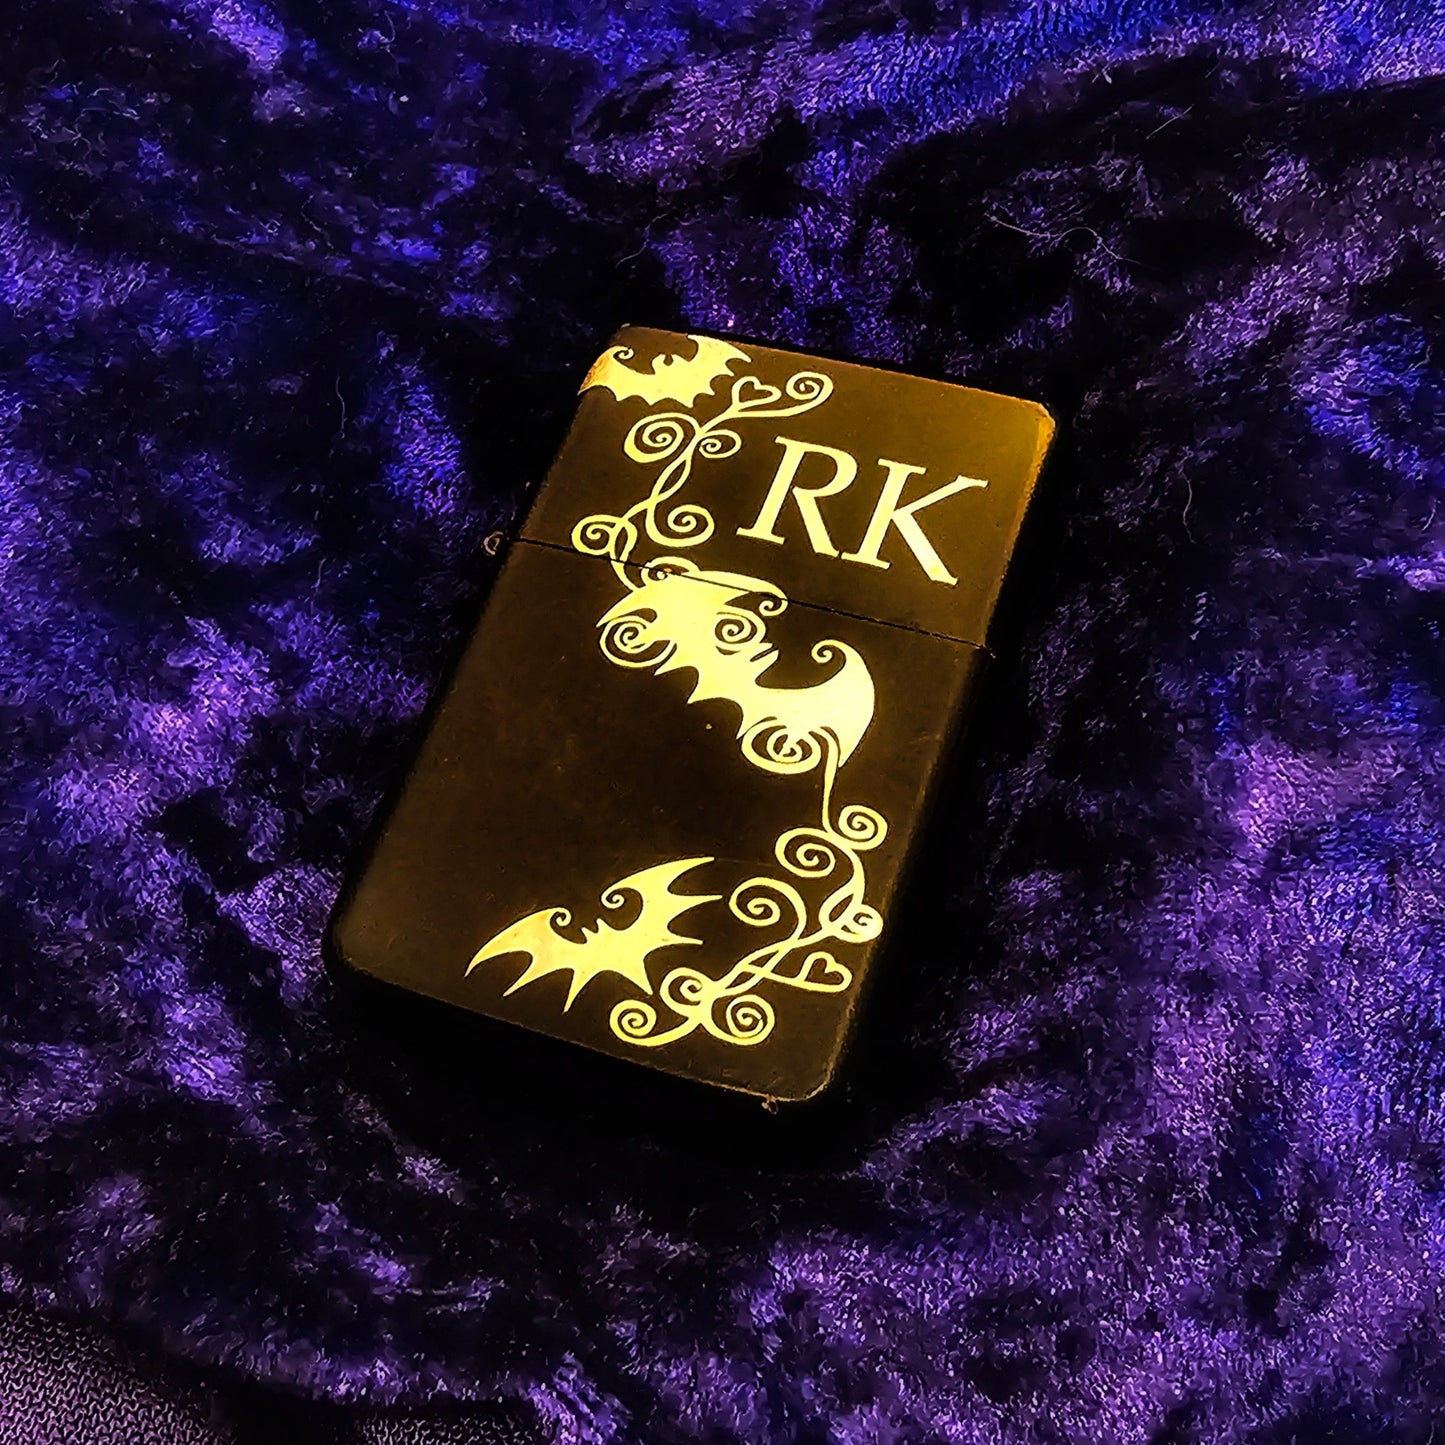
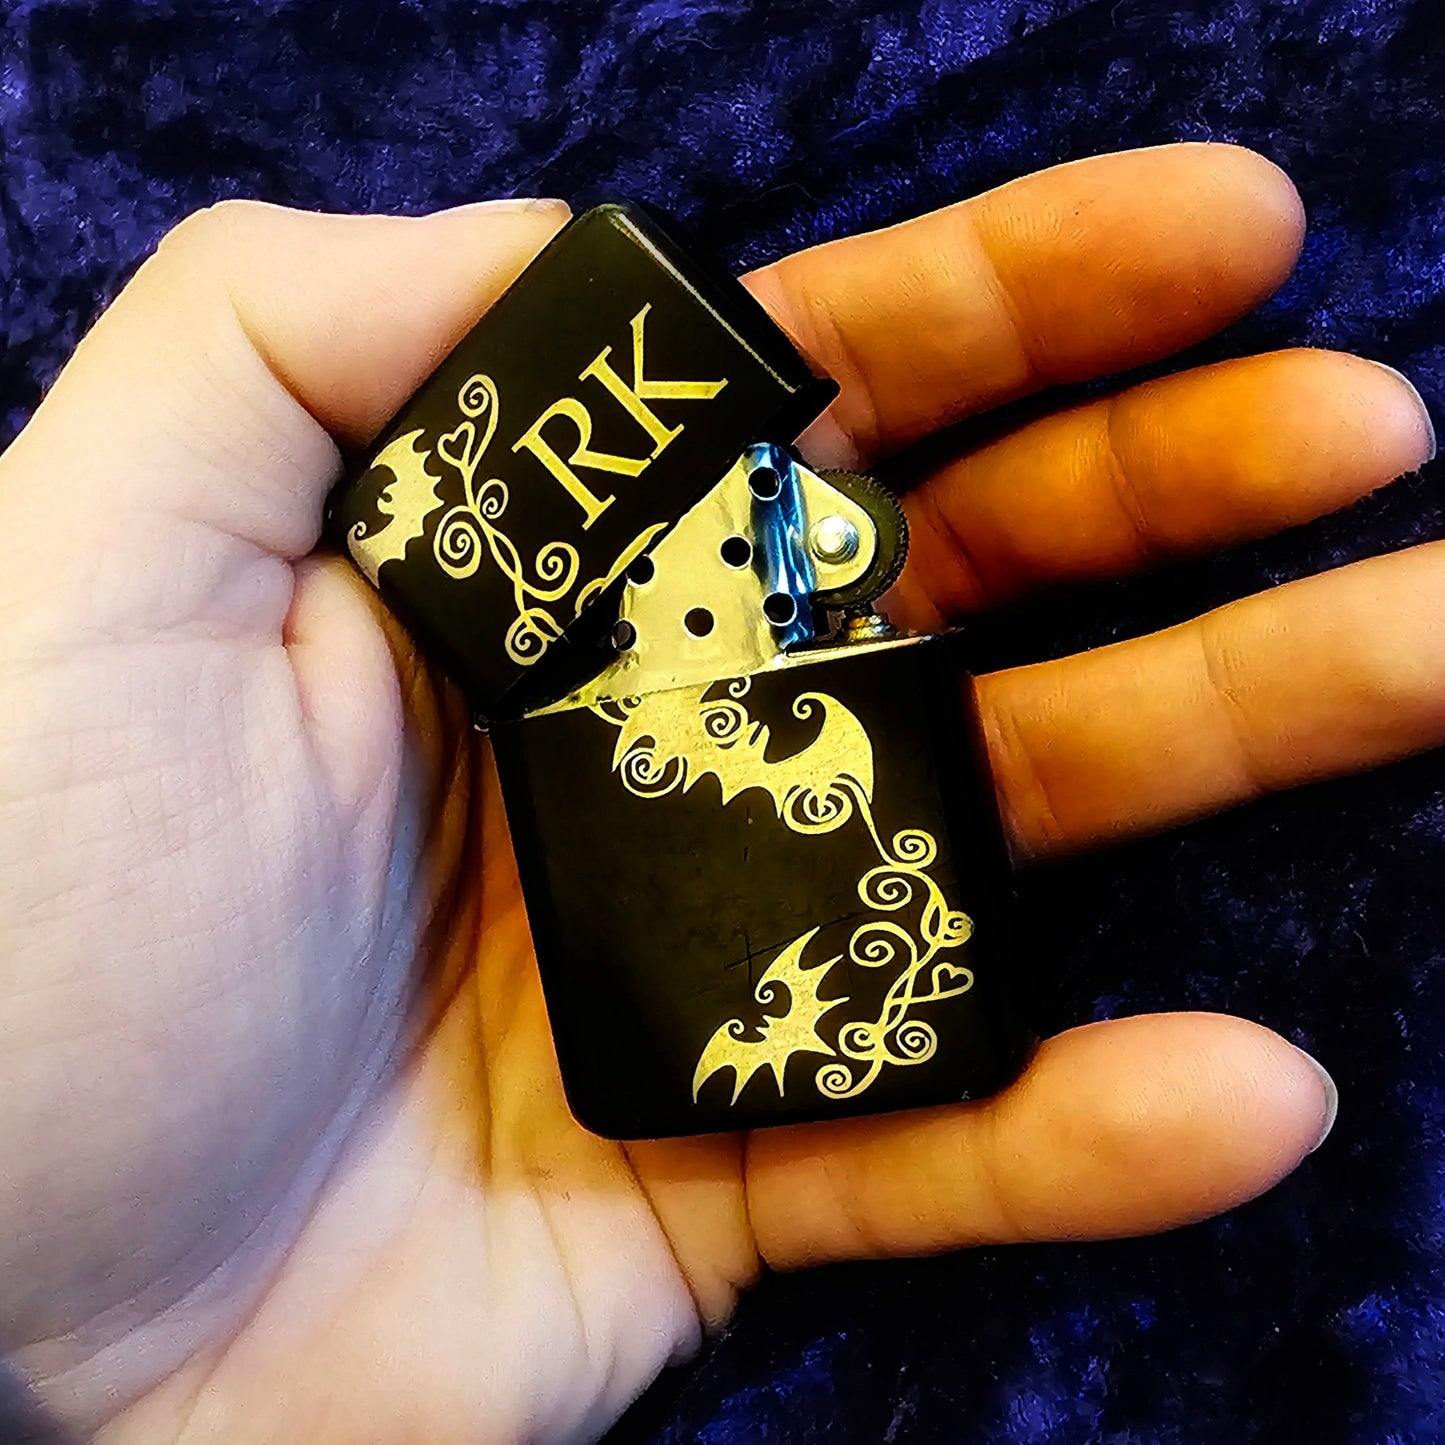
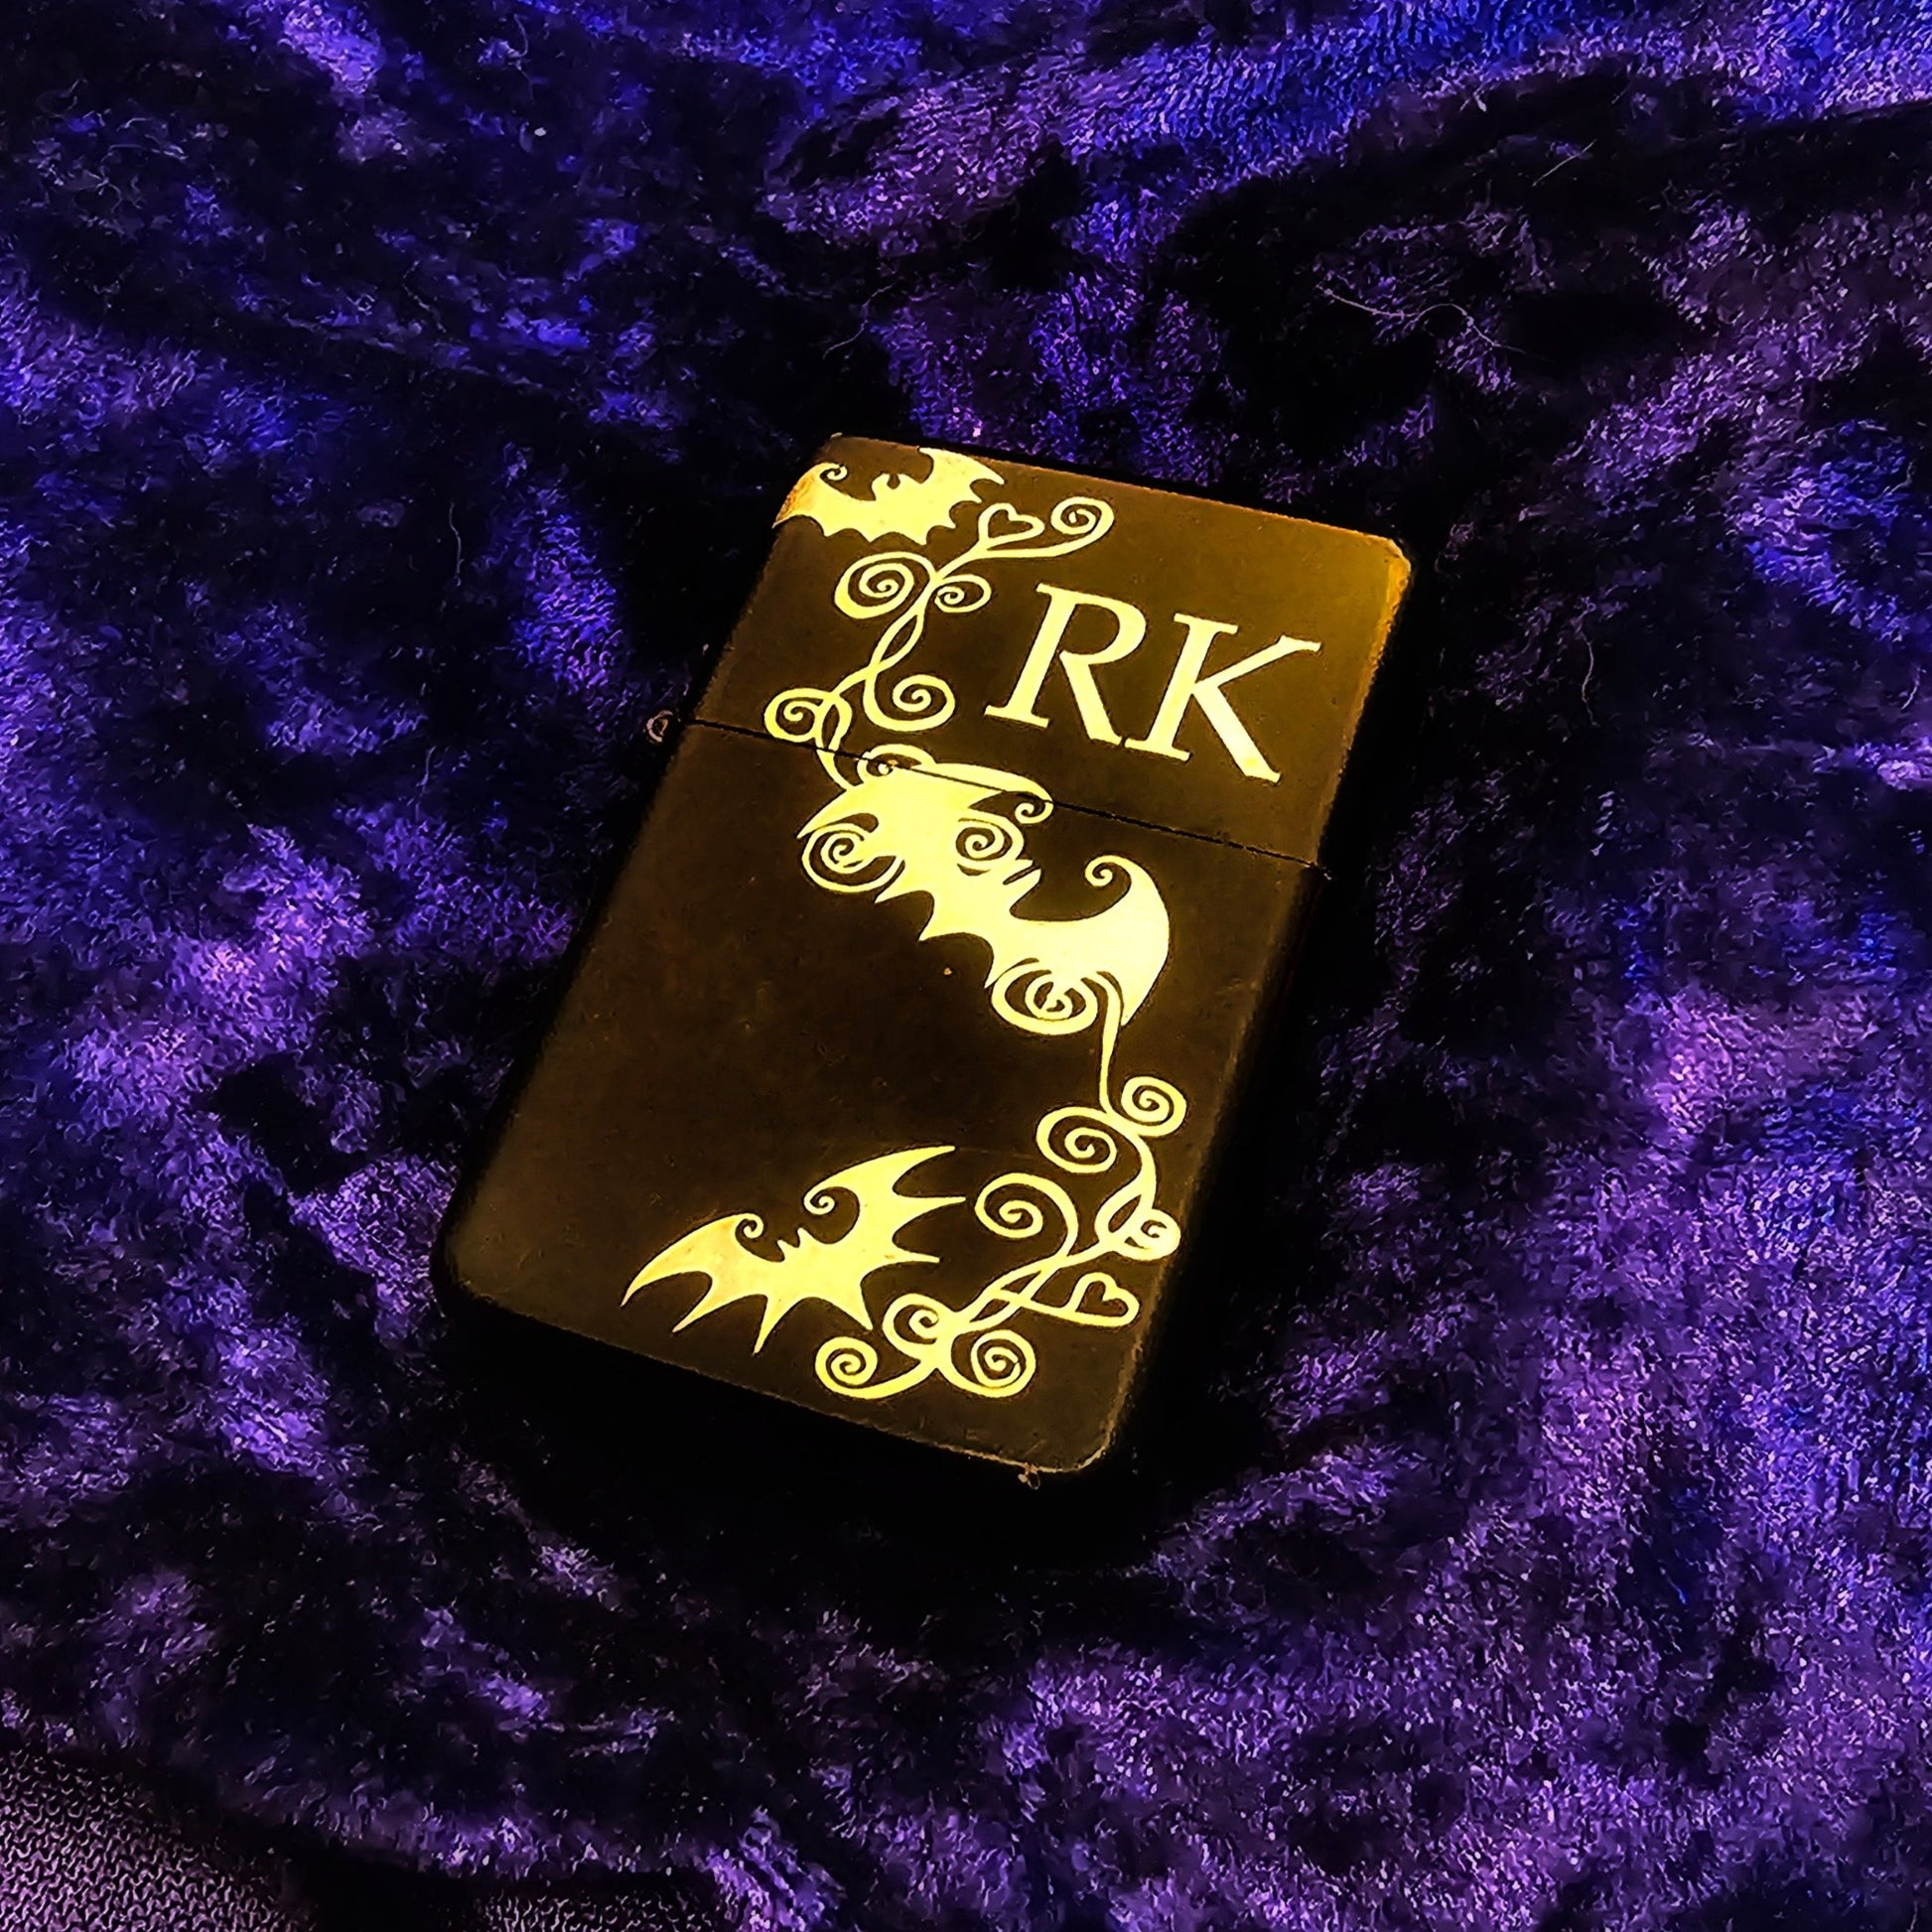
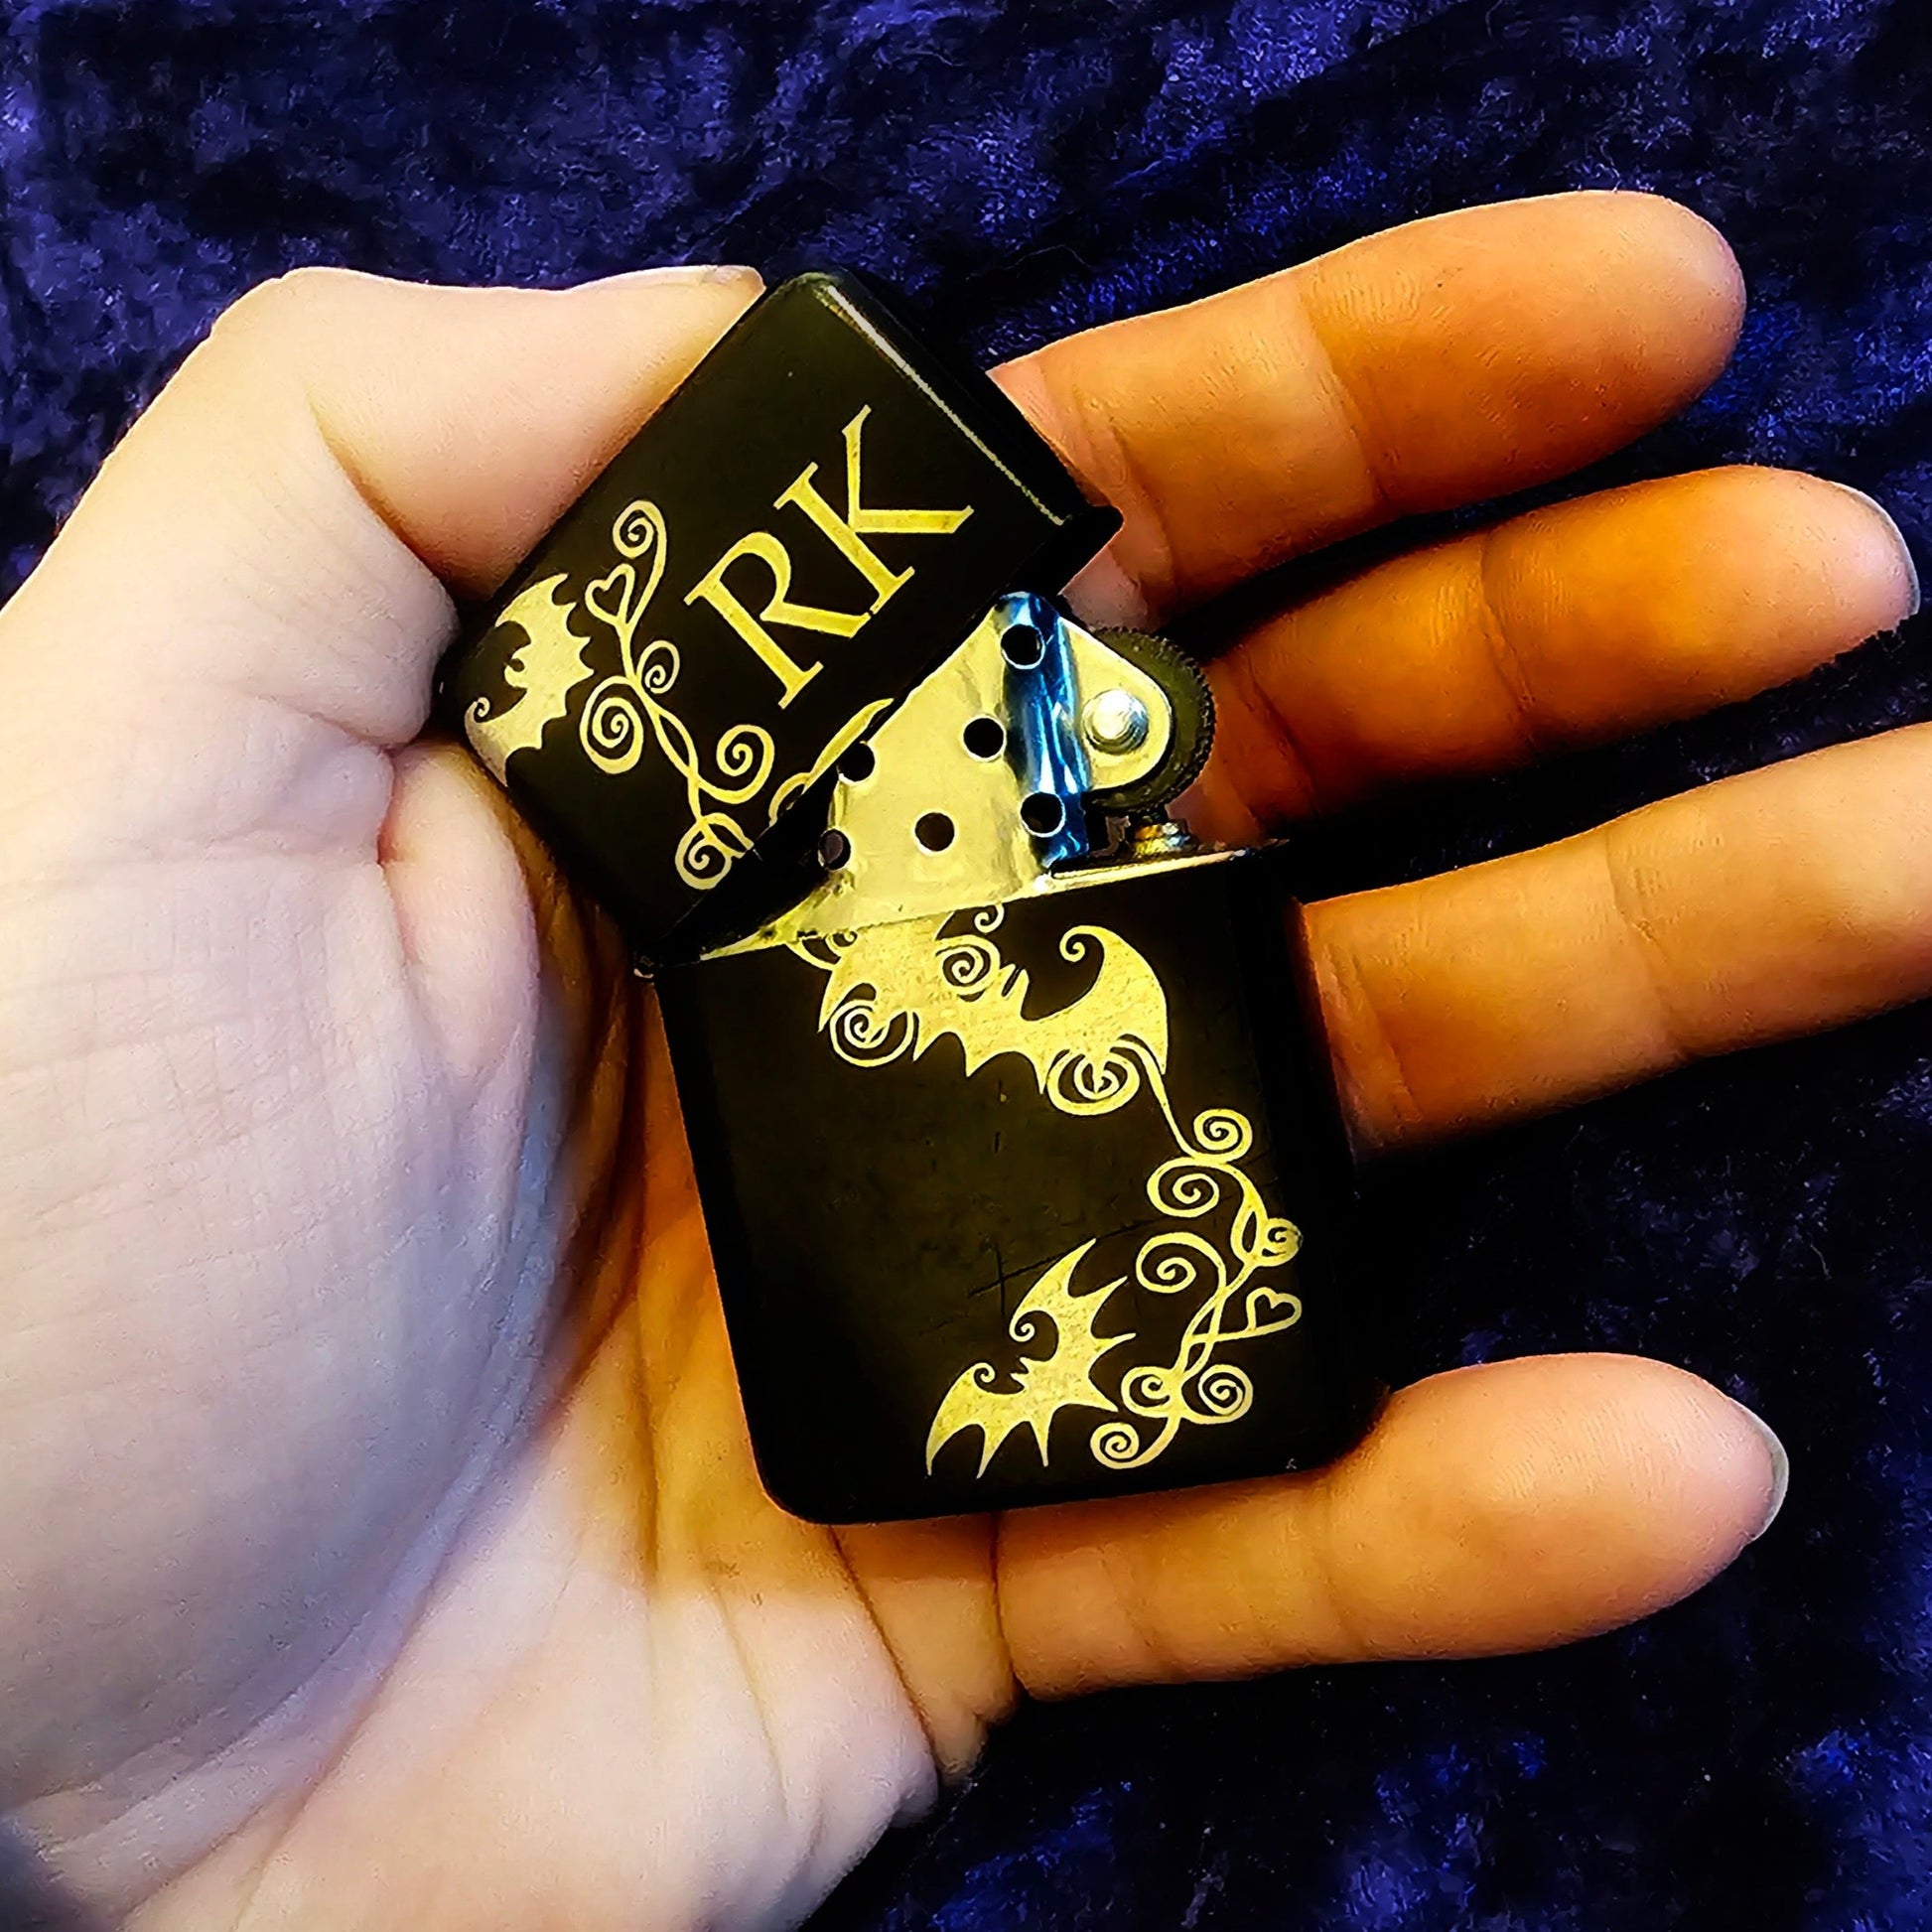
Initial Engraved Bat Black Flip Lighter

Initial Engraved Bat Black Flip Lighter

Regular price £16.50 GBP
Regular price Sale price £16.50 GBP
Sale Sold out
Shipping calculated at checkout.

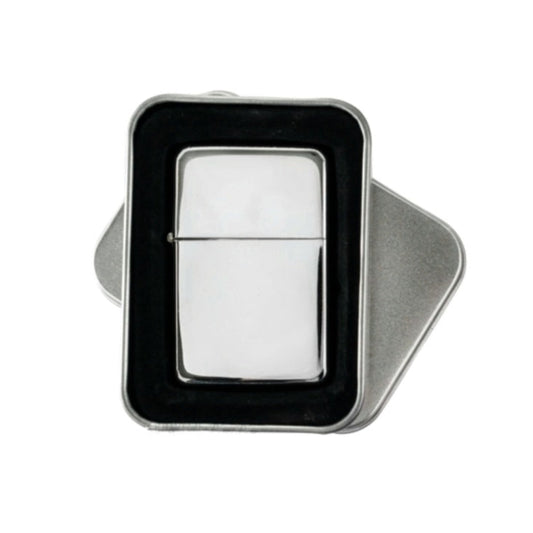
Light up the night with this bat-shaped flip lighter! Its sleek black design featuring your initial makes it as personalized as it is practical. Strike up a conversation--- no more awkward silences!

Shipping

All orders are prossesed and shipped out within 3day

Returns

Un-used jewellery can be returned with in a 30day period

Care Instructions

SOLID GOLD (10KT / 14KT / 18KT)

Solid gold ticks all the boxes for all the right reasons. It does not tarnish, corrode and has a very low reactivity to chemicals and other metals. Because of these properties gold is ideal for crafting jewellery. It's a no brainer why gold is one of the most precious and sought after metals.

STERLING SILVER

Sterling silver has a very special place in our hearts. Its demi precious properties means it's lighter and more durable than gold. An alloy of pure silver and copper, sterling silver's versatility allows for more intricate designs and detailing without structural compromise.
No one's perfect, sterling silver is no exception. By nature sterling silver is vulnerable to tarnishing from oxidation which can dull the metal over time. To improve its longevity we often plate our sterling silver with 14kt/18kt gold. Alternatively, a gentle clean with a silver polishing cloth will bring back the bling.

PLATED BRASS

It's easy to overlook brass due to its commonness, but some of its shortcomings are its biggest advantages. We love brass for its affordability, malleability and most importantly its durability. Because of this we can be more playful with brass designs, offering oh-so-cute to statement pieces.
Brass has a more sensitive personality when its comes to tarnishing and reactions to skins. We plate all our brass pieces in gold, rose gold or rhodium to enhance its longevity. Just give them a little more TLC, they appreciate that.

TITANIUM

Need something that can carry you from AM to PM on a daily basis? Titanium is our go-to when it comes to durability, tarnish resistant and bio-compatibility. We recommend titanium to anyone with sensitive skin or if you're just looking for a piece that can withstand all elements.
Due to the hardness of titanium, there are limitations in terms of design styles and detailing.

SURGICAL STEEL

A popular all rounder for its price point and durability. Although surgical grade stainless steel contains a tiny amount of nickel, the low transfer rate means it is considered hypoallergenic for most skin types. Because of its bio-compatible properties, we often use it for piercing posts where there is direct contact with skin.

Aftercare Tips

It’s a good idea to clean the jewellery on a regular occasion to prevent build up and possible infection. Cleaning body jewellery is easy when you keep your hands clean, use soap and water and clean the site before replacing the jewellery. Pieces with trickier designs or harder to clean debris can benefit from boiling or light scrubbing. Cleaning your body jewellery is easy and can give your piercings a long, problem-free life. Each person and piercing is different and will take a different amount of time to heal. Please follow instructions from the piercing professionals where you acquired your new piercing for more information.


Performing Routine Cleaning
  1. Wash your hands. Anytime you touch your jewellery, it’s possible you are transferring germs to the piercing site. While you should avoid touching it in general, it is especially important to only handle body jewellery with clean hands when you are about to clean it. Use a basic antibacterial soap and dry your hands with paper towel or a clean towel. A towel that you already dry your hands on frequently can have bacteria that has accumulated on it.
  2. Remove the piece of jewellery. If the piercing has been in place for a long time without being removed, be sure to take the jewellery out slowly as it might be stuck to your skin. You don’t want to damage the piercing by pulling the jewellery out too quickly.
  3. Soak in warm water with an antibacterial cleaning solution. Take a clean cup or bowl and fill it with warm water. Squirt or pour a small amount into the water. Swirl it around to make sure it is mixed in together. Place the jewellery in the water and allow to soak for about 3 minutes.[1]
    • Perform this soak on a regular basis to keep the jewellery clean and keep the piercing healthy. 
    • A good alternative to antibacterial cleaning solution is, boiled water and salt.
  4. Rinse the jewellery in hot water. You want to make sure that all of the cleaning residue is off the piece of jewellery before putting it back in. If not washed off properly, it can dry your skin and possibly cause irritation if it sits in the piercing for a long time.
    • While you are rinsing, it is good to inspect the piece of jewellery and make sure there is no dirt or debris left on the piece. If there is, further cleaning will be necessary. This can be made easier by using a cotton bud.
  5. Dry the jewellery before putting it back in. Either allow the piece of jewellery to air dry or gently dry it with a paper towel or gauze pad before putting it back in. 
    • If you plan to clean your jewellery regularly, you could cut paper towels into small squares and store them in a sealed plastic baggie for drying purposes. Since jewellery is small and doesn’t need a whole paper towel, you can avoid waste doing it this way.
  6. Clean the site of the piercing. Now that you have a clean piece of jewellery, you need to make sure the site of the piercing itself is also clean. You can use a little more antibacterial cleaning solution and water and dip a cotton bud in it to gently swab the piercing area. It is good to do this every couple days anyway to maintain a clean piercing.
    • It's best to avoid the use of rubbing alcohol when cleaning jewellery or piercings because it can cause damage to the jewellery.
    • Allow the piercing to dry before replacing the jewellery.
  1. Place jewellery in boiling water. If you don’t want to use antibacterial cleaning solution, or you already did and the piece needs further cleaning, boil a small pot of water and place your jewellery in it for about 5 minutes. This acts both to loosen any dirt or debris on the piece and kill bacteria and sanitize the piece. Remove from water with a clean utensil like tongs or a fork to avoid burning your hands.
    • Dry with paper towel or gauze as you would with basic cleaning.
    • This is a good cleaning method for intricate pieces that accumulate more dirt than basic pieces.
  2. Soak oral pieces in alcohol-free mouthwash. If you have tongue, cheek, or lip piercings, you may not want the taste of antibacterial cleaning solution in your mouth. You can soak these in mouthwash to give them a good clean as well. It is good to follow the other steps from the routine cleaning section.
    • To clean oral piercings, it is also good to swish your mouth with mouthwash to keep the piercings clean. Or use cooled boiled water with salt to rinse in your mouth. This will help clean the pierced area. 
    • It is important that the mouthwash is alcohol-free because alcohol can damage some jewellery.
    • DO NOT SWALLOW THE MOUTHWASH OR SALTY WATER.

CLEANING YOUR PIERCING

  •  Wash your hands thoroughly with anti-bacterial soap.
  • Apply saline solution (recipe at the bottom) to the piercing using gauze. (Don’t double dip!  Use a different part of the gauze each time you dip in the solution).
  • Turn the jewellery twice only to carry the saline solution through the piercing, mopping up any excess with the gauze.
  • Repeat this process morning and evening for 2-3 weeks.

DON’T …

  • DO NOT fiddle with your piercing during the healing process, or allow anyone else to.  This will inevitably lead to infection.
  • DO NOT turn or move the jewellery in the bath, and do not immerse in hot soapy water for any longer than necessary. Soap and shampoo in the piercing can lead to infection and delay healing.
  • DO NOT remove or replace jewellery until piercing has completely healed. Be patient.

ADDITIONAL INFO:

  • It will usually take three months to a year for your piercing to heal completely. Although your piercing may look healed, this might only be surface healing. Be patient with the healing process and you are less likely to encounter any problems.
  • Care should be taken not to contaminate new piercings. It should not be exposed to dirty environments and should not be touched unless cleaning it – don’t fiddle with it. 
If you are worried or have any concerns about your new piercing, please seek advise from the professionals where you got your new piercing.
  • How to make saline solution:

Saline solution is ideal to help healing since it agrees with all skin types and does not damage the pH of the skin or irritate the wound.

  • Boil a pint of water and add 1/2 a level teaspoon of Sea-Salt, allow this to cool and apply to the pierced area as indicated above.

You should clean the pierced area using gauze swabs and not cotton wool as they can introduce fibres into the site.  Don’t double dip! Use a different part of the gauze each time you reload with solution.

All piercings weep until they heal. This is lymph and should not be confused with an infection. The lymph will form a dry crust formation that you should soak off with saline solution during the cleaning procedure.

View full details
  • Shipping

    UK Free Shipping

    Internatinol Shipping £4.99

  • Questions

    Any Questions Please Email- prettysavagejewellery@gmail.com

    Or Visit our help page